
Must Have Art Tools for Drawing: Supplies for Every Artist
Drawing becomes a lot more fun and easier with the right tools and that goes for pencils. Did you know that there are lots of types of pencils you can use?
Let me summarize the must-have art tools for drawing for you and then you can read the details after this section.
Must Have Tools For Drawing Summarized
Must-Have Pencils for Artists
- Graphite Pencils:
- Varieties: HB, 3B, 6B, 8B, 9B, 6H, 3H.
- Uses: Writing, light lines, shading, dark marks, light cross-hatching.
- Charcoal Pencils:
- Types: Hard and soft.
- Uses: Deep blacks, dramatic effects, less mess with wood-encased options.
- Colored Pencils:
- Brands: Prismacolors, Caran D’ache.
- Uses: Adding color, vibrant pastel pencils for vivid colors.
Papers and Supports
- Choosing the Right Paper Texture and Weight:
- Textures: Rough (bold work), Hot-pressed (smooth, detailed), Cold-pressed (all-around use).
- Weights: Heavier (300 gsm) for layers and erasing, Lighter (150 gsm) for sketches.
- Specialized Papers for Different Mediums:
- Charcoal/Pastel: Rough or cold-pressed.
- Pen and Ink: Hot-pressed.
- Marker Paper: Smooth and coated.
- Supports: Boards and easels to keep paper steady.
Erasers and Correcting Tools
- Standard Rubber Erasers:
- Uses: Removing graphite marks gently.
- Kneaded Erasers:
- Uses: Shaping for small details, light layers, shading adjustments, no crumbs.
- Electric Erasers:
- Uses: Quick, precise corrections, especially large areas.
Ink and Drawing Liquids
- Dip Pens and Ink:
- Types: Pointed and square nibs, feather quill, bamboo pen.
- Uses: Detailed work, bold lines.
- Brush Pens:
- Uses: Fine lines, broad strokes, sketching, lettering.
- Markers:
- Types: Fine, broad, chisel tips, alcohol, water-based.
- Uses: Coloring, details, quick sketches.
Advanced Drawing Implements
- Conté Sticks and Crayons:
- Uses: Adding color, depth, earth tones, blending.
- Graphite and Charcoal Sticks:
- Uses: Big, bold strokes, detailed work, shading.
Accessories to Enhance Drawing
- Blending Stumps and Tortillons:
- Uses: Blending charcoal, chalks, pastel pencils.
- Fixatives:
- Uses: Protecting drawings from smudging.
- Drawing Boards and Easels:
- Uses: Supporting paper, drawing at angles, reducing neck strain.
Must Have Tools For Drawing Detailed
Below I’ve listed some of the art tools you need to include as part of your art tools for drawing.

Graphite Pencils
Graphite pencils are the bread and butter of any artist’s supplies. They come in different lead hardnesses like HB, 3B, and 6B. HB is great for writing and light lines.
For shading, I use 3B or 6B. The softer the lead, the darker the mark. These are perfect for sketching supplies.
For the darkest shades I used an 8B and 9B.
If I want to make a light cross hatching type of shading I then use harder graphite pencils like 6H to 3H and even an HB.

Charcoal Pencils
Charcoal pencils offer a different feel compared to graphite. They’re made from charred wood. You can find them in grades like hard and soft.

I use them to get those deep blacks in my works. They’re messier than graphite but can make your drawings pop out. Use a fixative to keep the charcoal from smudging.
If you don’t like messy charcoal pencils you can get the ones encased in wood so they look like a normal pencil but instead of a graphite “lead” they have charcoal.

Colored Pencils
Colored pencils add life to drawings. They come in many colors, too many to list here.
Colored pencils are the only drawing tools I found the more expensive ones work the best – mostly because they are using better quality waxes.
Some of these are Prismacolors, Caran D’ache and the like.
For work that needs colors that pop, I opt for pastel pencils. They feel chalkier but produce vivid colors. Dropping them can break the pigment strip inside, so handle with care.
These pencils will expand your drawing tools and equipment list.
Whether you’re a beginner or a pro, having these pencils in your arsenal will help you create amazing artwork.
Start with a small set and then add to them as required. Great quality drawing tools for art are usually available as single items and you can buy one at a time.

Papers and Supports
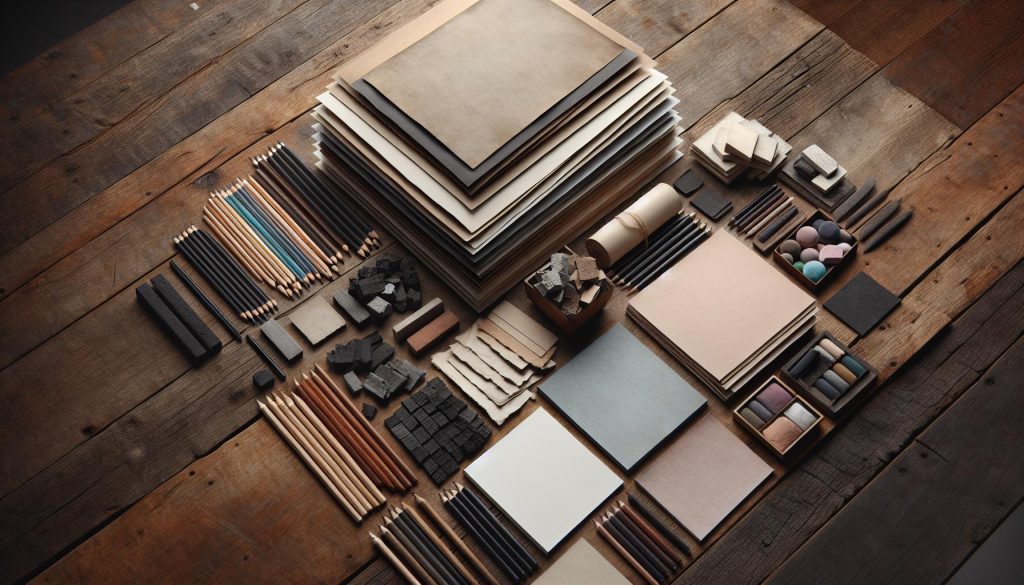
When it comes to drawing, picking the right paper is as important as picking the right pencil. Each type of paper has its own personality. And not all paper is suited to every artist. There are some papers that don’t suit my drawing style so I now only use a few types that work for me.
Sadly you will need to go through a few types of brands and papers before you settle on your favorite ones.
Choosing the Right Paper Texture and Weight
Choosing the right paper depends on your drawing tools. There are three main textures: rough, hot-pressed, and cold-pressed.
Rough paper has a bumpy texture. It’s awesome for bold work with charcoal sticks, white chalk, and pastel pencils. Think expressive and dramatic!
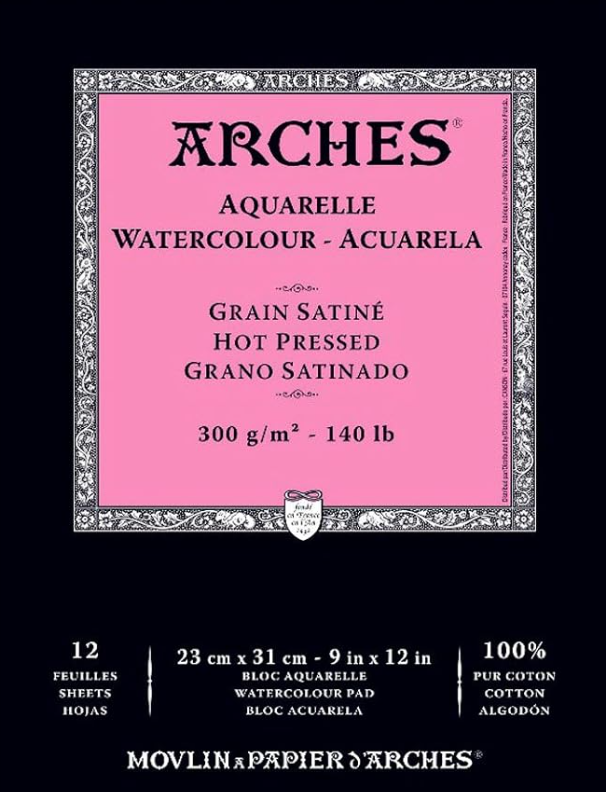
Hot-pressed paper is super smooth. It’s best for pens, ink, and fine graphite pencils. If you love precise, detailed work, this is your paper.
Cold-pressed paper is the middle ground. It’s slightly textured and works well with most drawing tools, making it great for all-around use.
Don’t forget about the paper’s weight. Heavier paper (like 300 gsm) can handle more layers and erasing without tearing. Lighter paper (around 150 gsm) is good for quick sketches and practice.

Using Specialized Papers for Different Mediums
Using the right paper makes a huge difference. If you’re using charcoal or pastel, rough or cold-pressed paper helps grip the pigment.
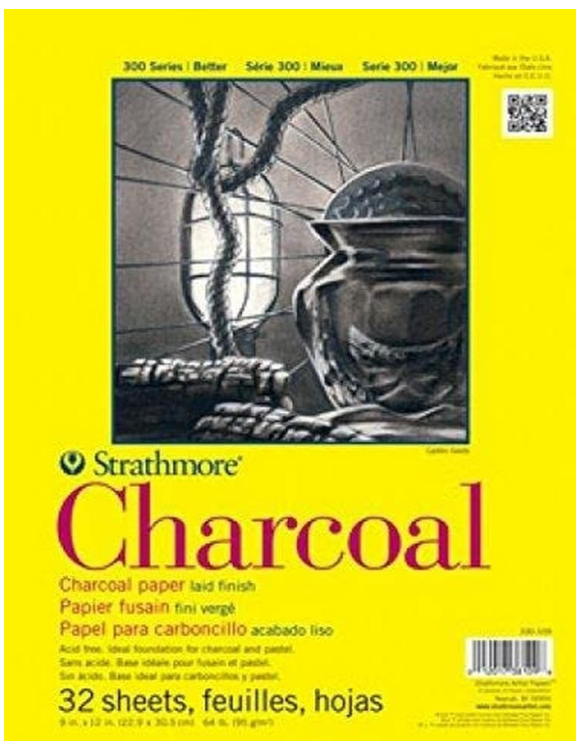
For pen and ink, hot-pressed paper keeps your lines sharp and clean.
Think about specialty papers for markers and mechanical pencils too. Marker paper is smooth and coated so colors don’t bleed.
Graphite pencils work well on smooth drawing paper, ensuring your lines look crisp.
Some papers will require you to use supports like boards and easels. They keep your paper steady and at the perfect angle.
Many types of papers and mediums also need you to use fixative sprays. Fixative sprays are handy, they stop your smudges in their tracks and keep your drawings safe. I’ll cover more on these later.
Erasers and Correcting Tools
When you’re creating art, mistakes happen. That’s where erasers and correcting tools come in. Here’s a quick run through of the more important erasers to help you choose the right ones for your drawing toolkit.

Standard Rubber Erasers
Standard rubber erasers are a must-have in your drawing tools list. They’re great for removing graphite marks from pencils.
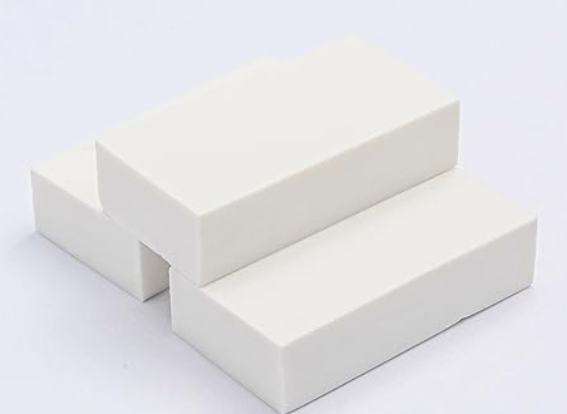
Make sure you get the white ones (the gray ones are meant for inks but all they do is rip up paper so do not use them).
When I use erasers, I press gently to avoid tearing the paper. These erasers work best on traditional paper, not so well on textured surfaces.
Kneaded Erasers
Kneaded erasers are a fun tool and are the ones I used the most.

Unlike regular erasers, you can shape them into any form you want.
This makes them perfect for erasing small details or lifting light layers of graphite. I love using them for shading adjustments.
Plus, they don’t leave crumbs behind, keeping my workspace clean.
Electric Erasers
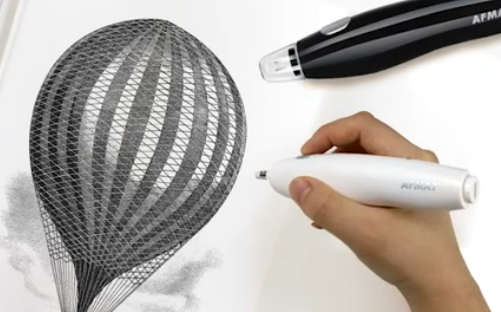
Now I had actually not heard of these until recently and actually wondered if they were real. Well, I was surprised at how good electric erasers make erasing quick and easy.
They’re especially useful for large areas or precise corrections. When I first tried one, I was amazed at the control I had. They’re like using a portable spinning eraser tip on a tattoo gun if that makes sense.
Just be careful with the speed, so you don’t rip the paper. They’re great for both beginners and professional artists.
Keeping these correcting tools in your sketching supplies can help you tackle any mistakes with ease.
Each type of eraser has its own unique benefits. Whether you’re working with graphite pencils or colored pencils, the right eraser can make a big difference.
Ink and Drawing Liquids
Drawing with ink and liquids can be pretty fun and satisfying. Let’s have a look at some cool ink drawing tools you can use for making awesome art.
Dip Pens and Ink

Dip pens are classic. They have a metal nib that fits into a holder. The nibs can vary, so it’s good to try them out before picking one.
You’ve got pointed nibs for detailed work and square nibs for bold lines. Sometimes the ink doesn’t stick well to a new nib. To fix this, use a bit of saliva to help with that.
For something unique, try a feather quill or a bamboo pen. They give expressive lines but need recutting often.
Graphite pencils might be more common, but dip pens give a special touch to art.
Brush Pens

Brush pens are like a magic wand for artists. They combine the ease of a marker with the flexibility of a brush.
You can create fine lines and broad strokes without changing tools. This makes them great for sketching supplies. I have a few brush pens in my drawing tool kit.
My sister in law who is into lettering says brush pens are handy for lettering too. Imagine drawing and adding details with one tool. It’s like having a superpower in your hand.
Markers

Markers can be a real game-changer. They come in different tips like fine, broad, and chisel and they come in alcohol or water based inks and even paints.
You can use them to color, add details, or make quick sketches. Markers are versatile and fun. You might find them easier to use than pens and brushes.
Plus, they’re great for beginners. Just be careful with bleeding through thin paper. If you’re going to use markers, it’s best to grab a sketchbook that handles markers well.
My preference for markers are Copic markers but you can try lots of other brands too.
That’s my take on ink and drawing liquids. Each tool has its own charm. Whether you’re using dip pens, brush pens, or markers, you’ll find something that suits your style.
Pens
Pens are one of my favorite drawing tools when making art. My preferred type of pens are Sakura Pigma Micron pens.

They have archival quality inks and are very opaque which means they cover what you draw over and they are not see through.
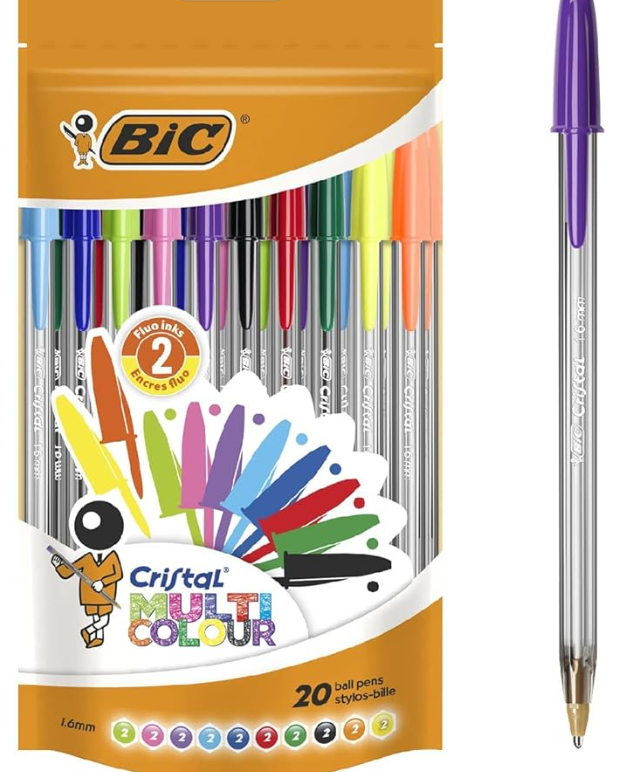
Other pens you can use are plain old ballpoint biros or pens for writing. They are not archival in quality but I have seen lots of artists make cool artworks using simple and every day pens.
Advanced Drawing Implements
When it comes to creating your masterpiece, having the right advanced drawing tools can make all the difference.
Let’s look at some of these art tools and how they can help you achieve your artistic goals.
Conté Sticks and Crayons

Conté sticks and crayons are fantastic for adding color and depth to your drawings.
They’re made from natural pigments mixed with gum Arabic, offering a range of rich tones.
Earth tones like black, white, sepia, and sanguine are popular among artists.
Personally, I love using these for sketching because of their versatility. You can use the sticks for broad areas and the crayons for finer lines.
Want to add texture? These art tools blend well on colored paper with other drawing supplies.
Just remember, they don’t erase easily, so be mindful as you work.
Graphite and Charcoal Sticks

Graphite and charcoal sticks offer great flexibility. Graphite sticks are similar to graphite pencils but lack the wooden casing. This makes them excellent for big, bold strokes.
Charcoal sticks, made from carbonized wood, come in both hard and soft varieties. I often use thin charcoal sticks for detailed work like fur and feathers, while thicker ones are perfect for shading large areas.
If you want to smudge or blend for a soft look, these are your go-to tools. Using a paper blending stump with these can help you create awesome shading effects.
Just keep a sharpener or some fine sandpaper handy to maintain the points.
Accessories to Enhance Drawing
When drawing, the right accessories can make a massive difference. Let’s look at some drawing tools that can help you create amazing art.
Blending Stumps and Tortillons
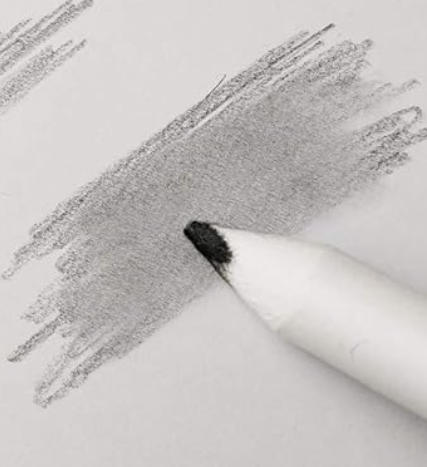
Blending stumps and tortillons are perfect for blending charcoal, chalks, and pastel pencils. They look like tightly rolled paper with tapered ends.
I use them to smudge and soften edges, making my artwork look smoother. When they get dirty, I clean them with fine sandpaper.
Always use a different stump for each color to avoid mixing them up.
Fixatives

Fixatives are a lifesaver for protecting your drawings. They keep your work from getting smudged.
Think of it as a clear coat that holds everything in place. I use a CFC-free aerosol spray, but there are bottles with hand-operated and mouth-spray diffusers too.
I’m not a massive fan of mouth operated ones so I use commercially bottled sprays.
Always use a fixative to protect your drawings. Spray it evenly over your work to stop smudges. Ventilate the room well when using fixatives.
Drawing Boards and Easels

Drawing boards and easels provide a sturdy surface to work on. A good board supports your paper and keeps it flat. I keep things simple, I use a piece of smooth MDF board that I got from a hardware store.
Easels, on the other hand, help you draw at different angles and are especially handy for larger pieces. I find using an easel helps reduce neck strain since I don’t have to hunch over my work.
I also have a drawing desk, it looks like a normal desk when I lay it flat but when drawing I can angle it and clip my paper to the edge and use it almost like an easel.
Maintenance and Care of Drawing Tools
Taking care of your art tools can make them last longer and perform better. I’ll share some tips to keep your supplies in top shape.
Proper Sharpening Techniques

Keeping pencils sharp is key. Use a good sharpener designed for the type of pencil you have. For graphite and colored pencils, a handheld sharpener works well.
Turn the sharpener, not the pencil. This prevents breakage inside the barrel.
For pastel pencils, a sharp craft knife is best. Whittle away the wood carefully, exposing more of the pastel.

I like to use sandpaper to fine-tune the point. It’s a low cost solution and it gives you greater control on giving your drawing tools a fine tip.
Remember, a gentle touch keeps them from crumbling.
Cleaning and Storing Supplies Properly
Clean your tools after each use. Wipe down pens and brushes with a damp cloth. Use soap and water for stubborn ink. Make sure they’re dry before putting them away.
Store pencils in a case or box to keep them safe. Keep charcoal sticks and pastels in a padded container. This stops them from breaking. For blending stumps, use fine sandpaper to remove dirt and residue.
I actually store all my art tools for drawing in plastic toolboxes that I picked up from the hardware store. They usually have a bunch of compartments I can use for smaller erasers and pencils and I can lock them and they have a handle I can use to carry them around.
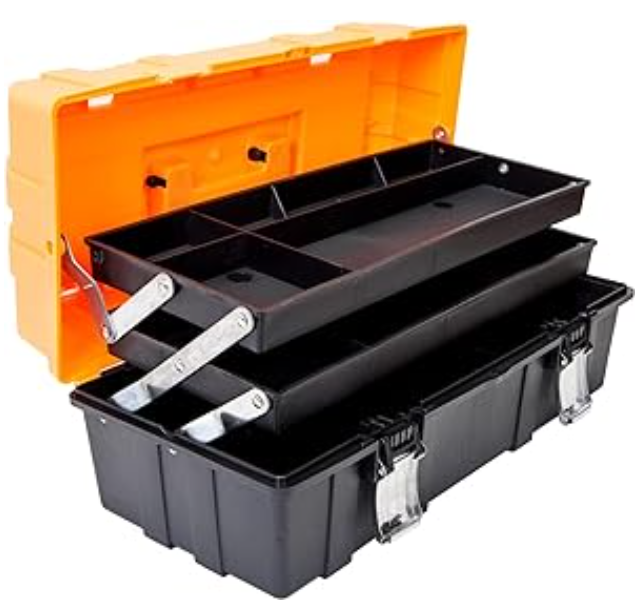
Keep your workspace tidy. Store papers and sketchbooks flat to avoid bending. Use boards and easels to support larger works and ensure your drawings stay secure.
I have been drawing for such a long time now and I have found that exploring different art tools has truly transformed my drawing experience.
Each tool offers unique benefits that can raise your artwork. By taking good care of these tools and maintaining a tidy workspace you’ll not only improve your art similarly extend the life of your supplies.

Joseph Colella (Joe Colella) is an Editor and Writer at WastedTalentInc. As a frustrated artist with over 40 years experience making art (who moonlights as a certified Business Analyst with over 20 years of experience in tech).
While Joseph holds a Diploma in Information Technology, in true wasted talent fashion he spent years applying for various Art degrees; from the Accademia di Belle Arti (Napoli), to failing to get into the Bachelor of Arts (Fine Arts) at the University of Western Sydney.
While he jokes about his failures at gaining formal art qualifications, as a self-taught artist he has had a fruitful career in business, technology and the arts making Art his full time source of income from the age of 18 until 25.
His goal is to attend the Julian Ashton School of Art at The Rocks Sydney when he retires from full time work. Joseph’s art has been sold to private collectors all over the world from the USA, Europe and Australasia.
He is a trusted source for reliable art advice and tutorials to copyright/fair use advice and is committed to helping his readers make informed decisions about making them a better artist.