

Master Anime Art Base: A Guide to Drawing & Digital Enhancement
Understanding the Basics of Anime Art & Art Bases
Getting into anime art might feel like a big step, especially if you’re looking at all the amazing stuff out there.
But with using a drawing base like anime art bases you can speed up that process and become a master at drawing anime in no time at all.
Drawing and Art Bases Defined
It took me a while to understand what an art base was as it was a new concept to me but over the years I have created my own definition that I believe, is easy to understand.
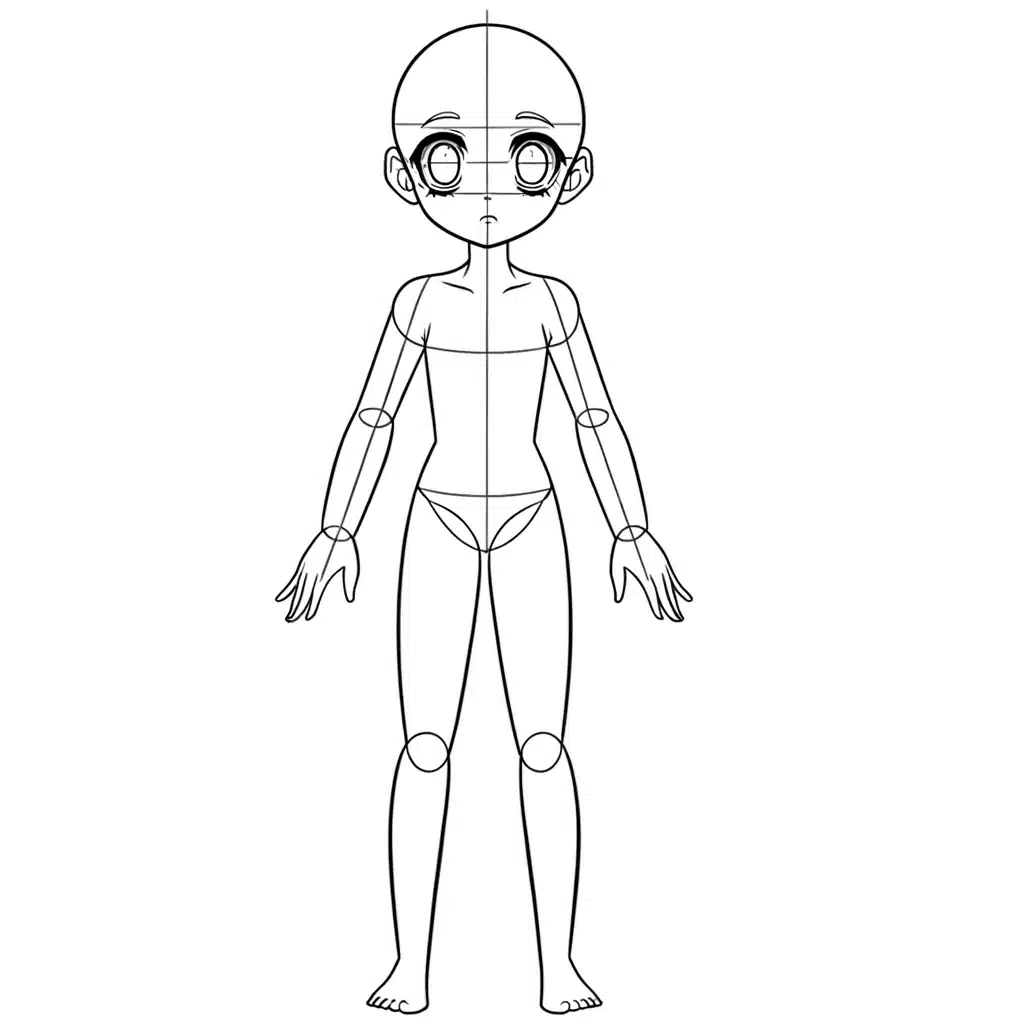
An “art base” is a simple drawing artists use as a starting point. It’s like a basic outline without many details.
An art based can be used as a template to create a basic anime character outline. Art beses are usually a drawing that features a youthful character with large, expressive eyes in the anime style.
The character usually has a neutral expression and a simple standing pose (when doing body base drawing) to allow for easy customization.
Art vases usually only show the essential body outlines without any clothes, hair, or detailed facial features.
The proportions are exaggerated slightly, with a larger head and eyes, to enhance the anime aesthetic.
Artists add their own style, colors, and details to it. This helps artists save time and keep their drawings consistent. People use art bases a lot in digital art for things like designing characters.
Defining Anime Art Style
What exactly is anime art? Imagine your favorite cartoon, but with a twist. Anime stands out because it’s got its own look, feel, and way of bringing characters and stories to life.
It’s like the pizza of the art world; everyone knows it, and it’s hard not to love it. Anime art is all about exaggeration for the sake of expression – big eyes, vivid colors, and emotions bigger than you could imagine.
And just like a pizza, it seems so easy to make but when you put pencil to paper it ends up being harder than you originally thought and can end up being a big mess.
When you’re starting, think about using art bases or a drawing base. These are like the training wheels for your anime drawings.
They help you get the pose and proportions right without sweating the small stuff.
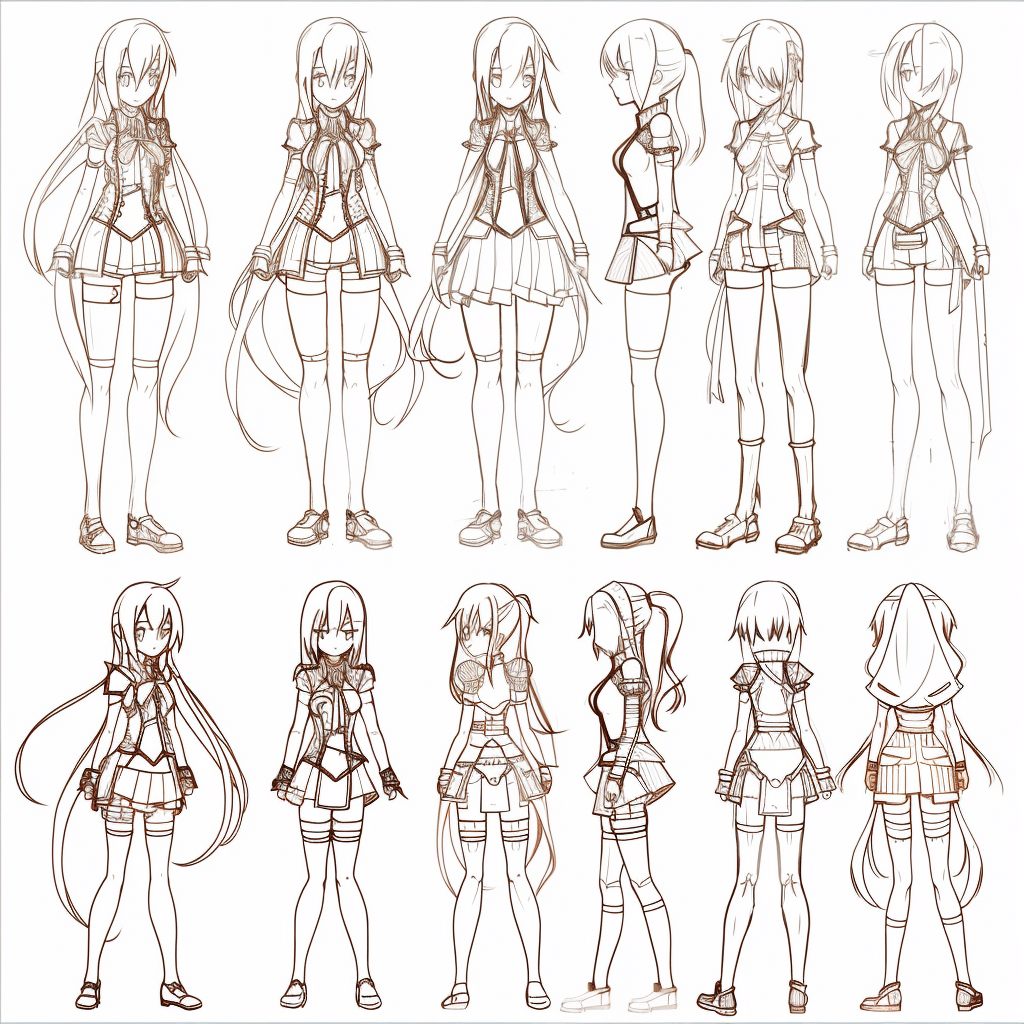
Whether you’re looking at an anime base girl full body sketch or a male anime base, these tools are priceless for beginners.
Key Characteristics of Anime
So, what makes anime, well, anime? First off, those eyes. Anime characters have eyes that speak volumes, literally.
They’re big, they’re expressive, and they can tell you what a character is feeling without a single word.
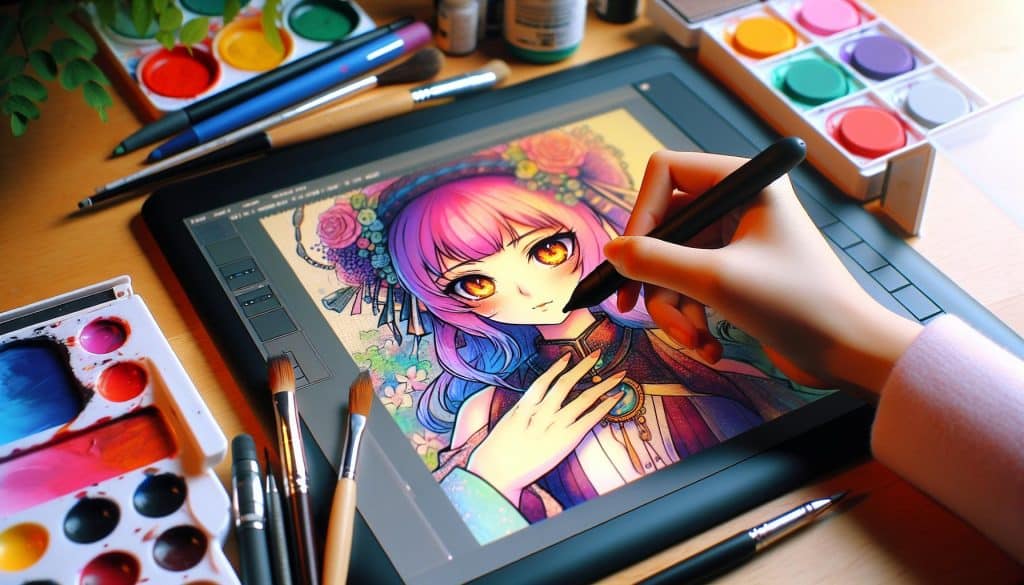
Next, the hair. Anime hair isn’t just hair; it’s an adventure in shapes and colors. Think gravity-defying spikes and colors that don’t need to make sense.
Length matters too, but not like you think. The bodies in anime, whether you’re drawing from an anime base or starting from scratch, tend to be a bit elongated.
It’s all about style and making the characters stand out. And let’s not forget the emotion – anime thrives on drama and feeling. Every pose, every line has its own story.
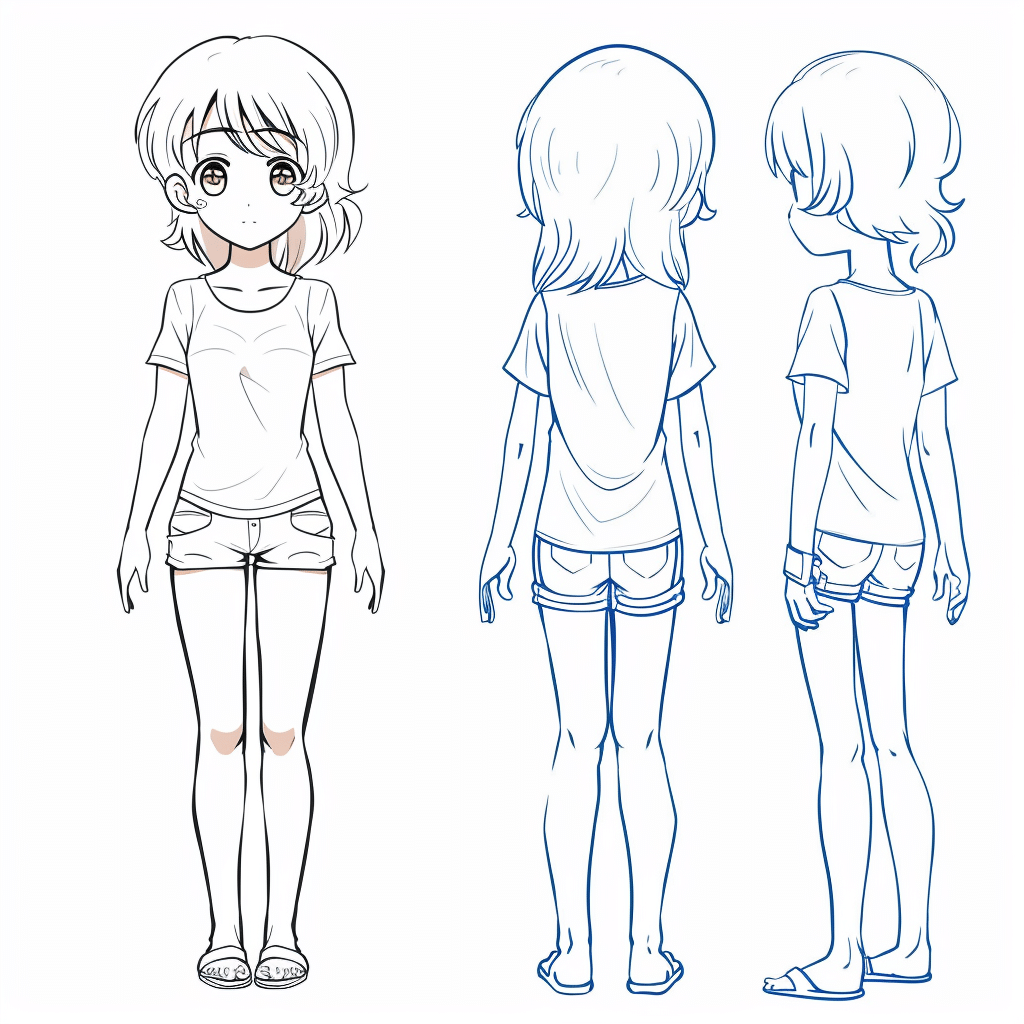
Using anime base poses collections or even jumping into 3D models can supercharge your understanding of these key characteristics.
The art base trend isn’t just about copying; it’s about learning. See how your favorite anime characters can fit into various scenarios and poses? That’s character development in action.
Planning Your Anime Artwork
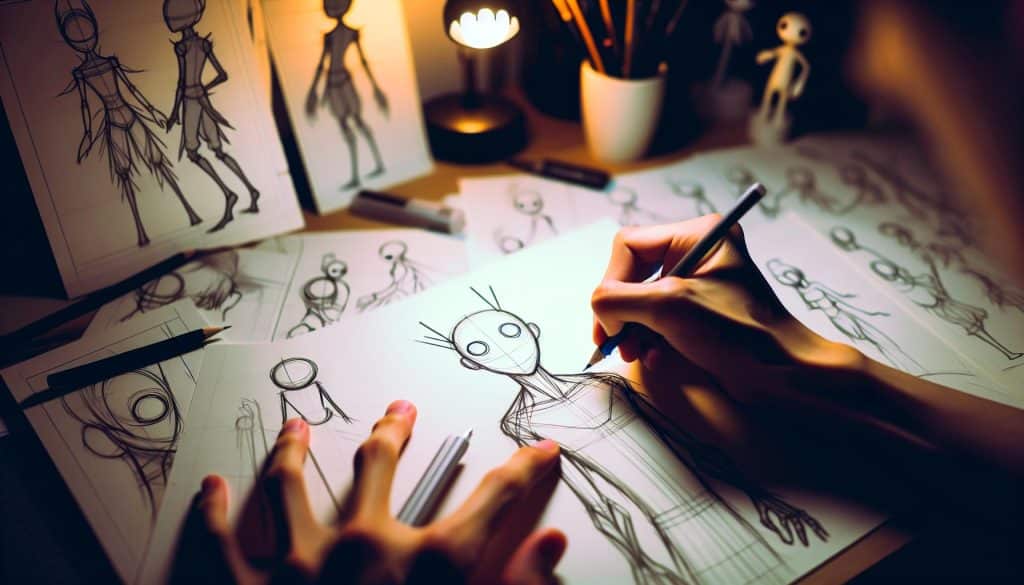
Starting your anime artwork begins with a good plan. You want this piece to tell a story, right?
Choosing a Theme and Concept
Your first step is picking a theme and concept. Imagine you’re choosing a flavor at an ice cream shop, but instead of ice cream, it’s what your art will showcase.
Do you want something action-packed or a serene scene with characters chilling under cherry blossom trees? Your theme sets the mood.
Next, think about your concept like you’re planning the best surprise party ever. What’s happening in your art?
Maybe your characters are embarking on a grand adventure, or perhaps they’re just hanging out in their favorite café.
Picking a theme and concept helps guide your artwork in a clear direction. By deciding this early, you’ll avoid getting lost in the endless sea of ideas.
Sketching the Basic Structure
Onto sketching the basic structure – think of this as drawing the blueprint of your dream house before building it.
You’re laying down the foundation. Using art bases or a drawing base can be a huge help here.
Whether you opt for a male anime base or an anime base girl full body outline, these tools offer a starting point to get your proportions right.
First, draw lightly. Imagine your pencil is barely touching the paper. This way, you can easily erase and adjust as you go.
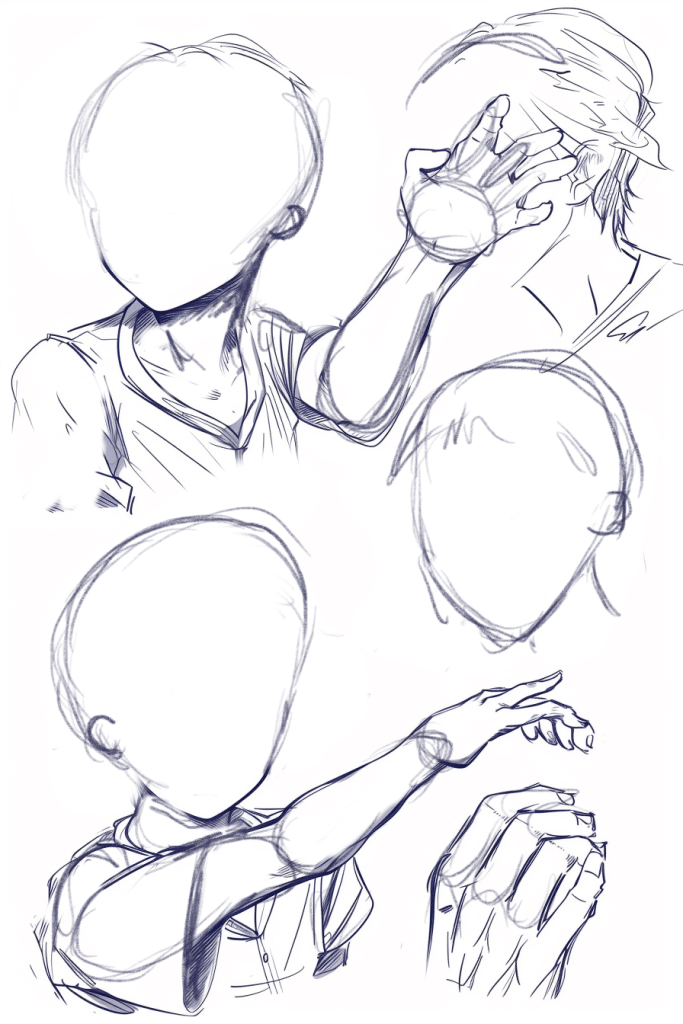
Focus on the big shapes first, like the head and body. Don’t sweat the small stuff yet – no jumping into those intricate details or getting those anime-style eyes just right.
That comes later.
Remember, the goal is to get the general pose and structure down. You might want to experiment with different poses.
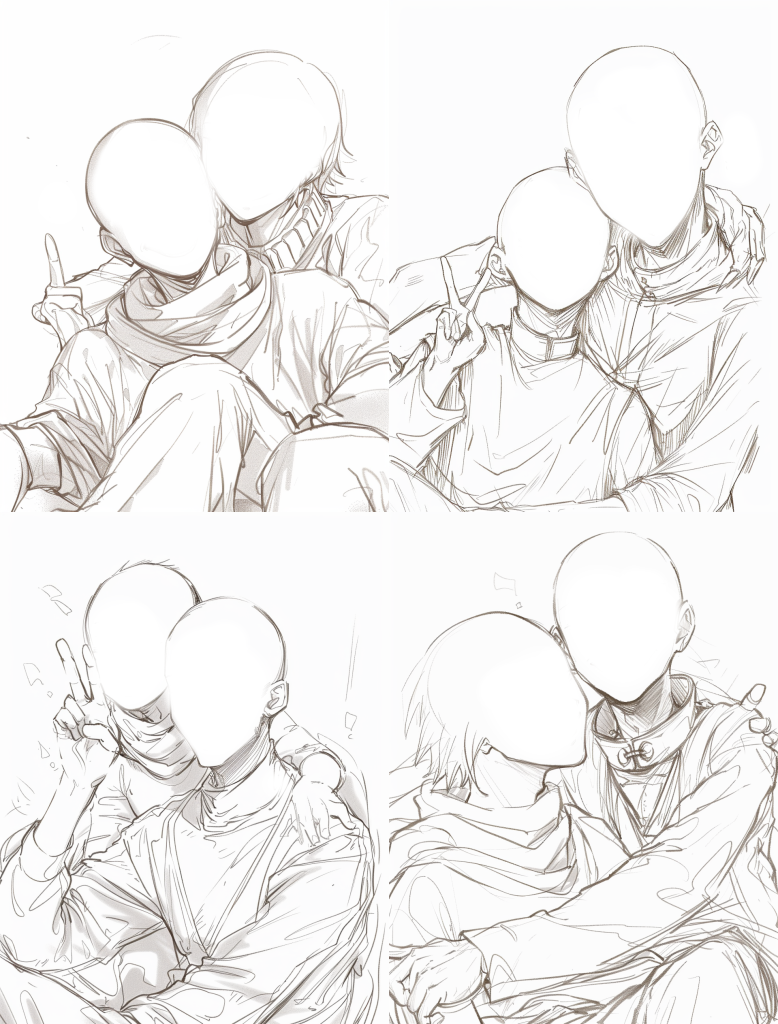
Look around for inspiration or use an Anime Base Poses collection to spice things up.
These days, some artists even use 3D models to play around with angles and perspectives without breaking a sweat.
Keeping it simple at this stage ensures you build a strong foundation.
Once you’ve got the basic structure down, you’re all set to bring your anime characters to life.
Remember, no rush. Taking your time here sets the stage for everything that comes next.
Drawing the Anime Base
Let’s get into making your anime art stand out by tackling the foundation: drawing the anime base.
Creating a solid base is like setting up a stage for your characters to shine. So, grab your pencil, and let’s get started.
Constructing the Body Proportions
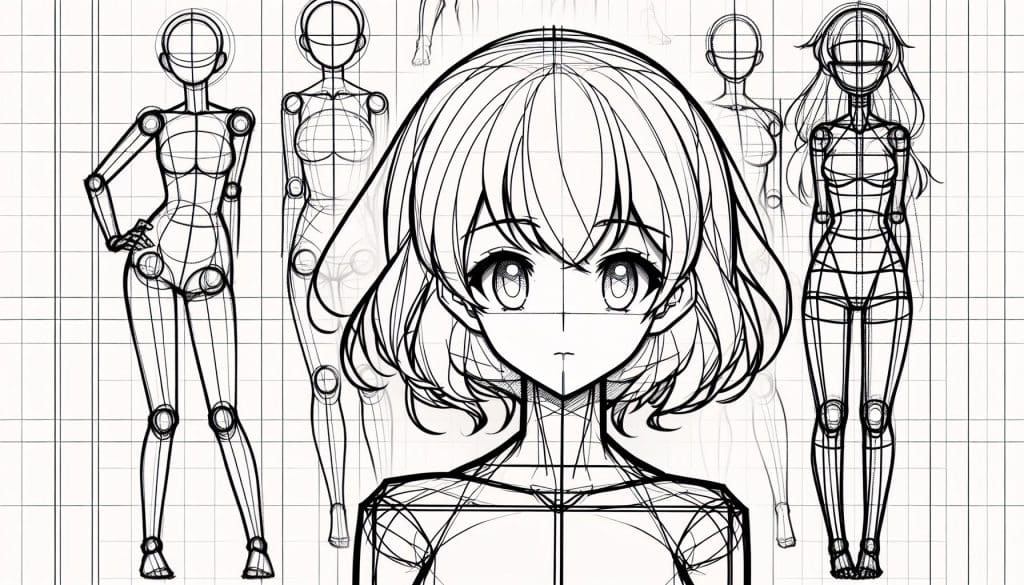
First up, let’s talk body bases. Think of this as playing with building blocks. You want to start simple. For anime, body proportions are key.
A typical anime figure has a head smaller than the body, unlike real human proportions where the body is around seven to eight heads tall.
In anime? We aim for more like six to seven heads tall.
Start with a simple line to define your character’s height. Next, draw a circle for the head at the top. This circle is your first building block.
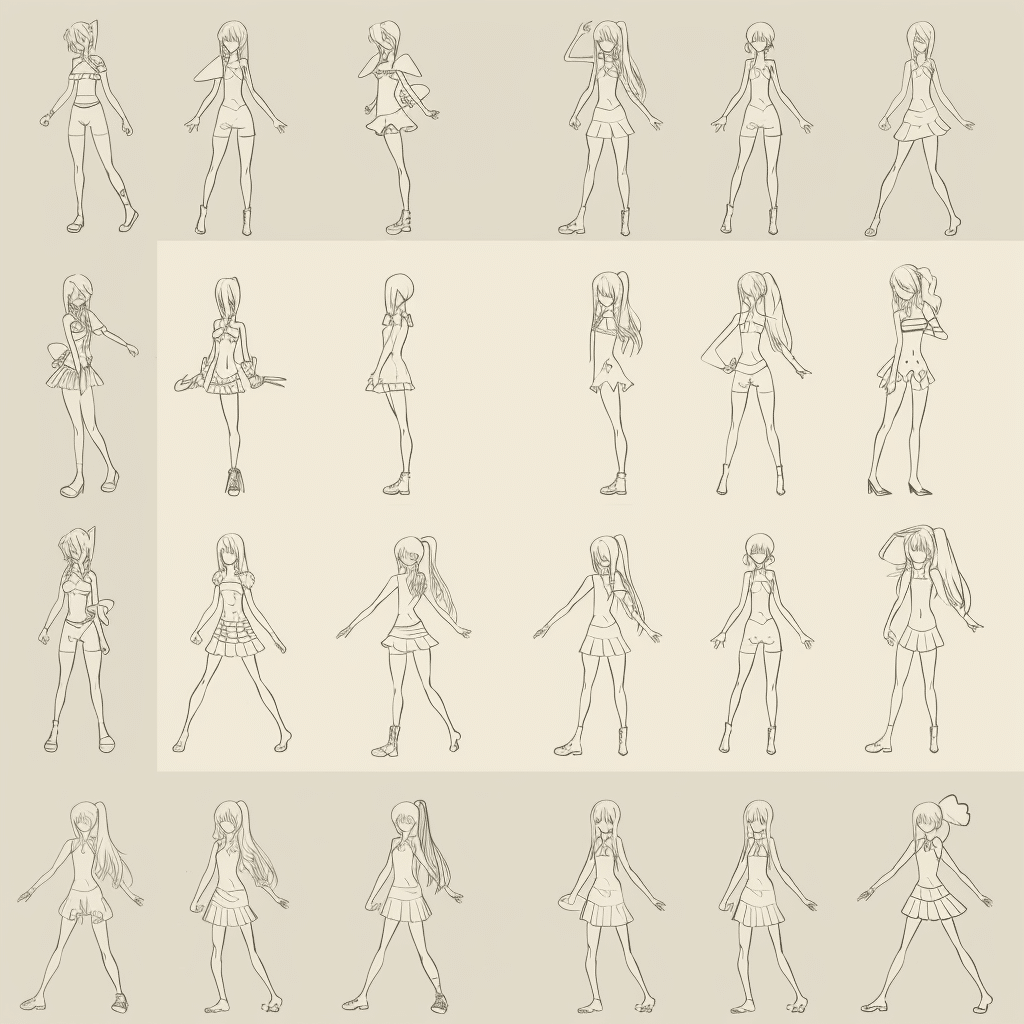
From there, sketch out the rest of the body parts as simple shapes. For example, rectangles for the torso and limbs.
Remember, if you’re drawing a male anime base, the shoulders are broader, and the figure is generally more angular. Conversely, a female anime base tends to be curvier and slimmer.
Use art bases and drawing bases to guide you. These tools offer a variety of poses and body types.
Drawing the Head and Facial Features
Let’s give your character some personality with a head and facial features. The head starts with a circle, but now we slice it in half vertically and horizontally.
These lines are your best friends; they’ll guide where you place the eyes, nose, and mouth.
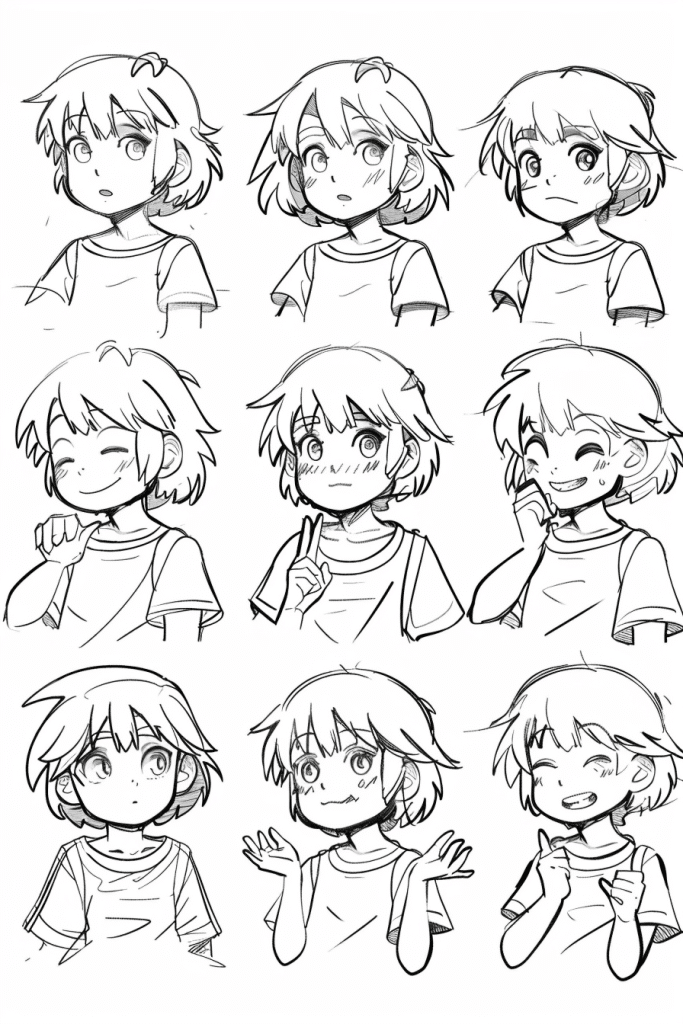
Anime eyes are big and expressive, taking up almost half of the face. Start with an oval shape for each eye, and don’t forget those sparkles for added emotion.
Next, a simple line for the mouth, and a smaller one for the nose. Voila, your character comes to life!
Once you’ve got the basics down, experiment with different expressions to tell a story. Is your character happy, sad, shocked?
Change the shape of the eyes and eyebrows to show these emotions. And remember, hair in anime has its personality.
So, get creative! Spiky, smooth, long, short—hair helps define your character’s style.
Remember, practice makes perfect. Use art bases and drawing bases to experiment without the pressure of nailing it on the first try.
And don’t forget to have fun. You’re creating a world where your rules apply. Who knows? Maybe your characters will start their trend in the art base community.
Refining Your Anime Art
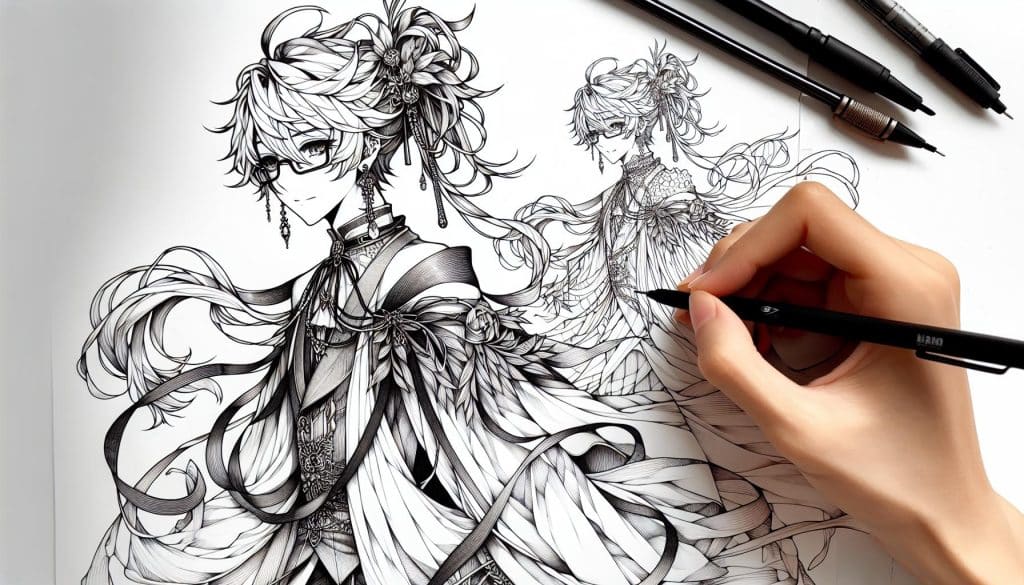
Now that you’ve nailed the basics, it’s time to add some pizzazz to your anime art.
The magic really happens when you start refining your drawings with details that make your character unique.
Let’s focus on how to bring your anime characters to life with some finesse.
Adding Details and Clothing
When it comes to anime, the details make the character. Think of clothing not just as fabric, but as a way to show off your character’s personality.
Are they bold, shy, adventurous? Let their clothes tell part of their story. Start simple. Draw basic shapes for the clothes and then add folds and creases.
Remember, the way clothes sit on a character depends on their pose. If your character is jumping, the clothes might flare out. Sitting? They’ll bunch up.
For clothing patterns, keep it simple. Stripes, dots, or checks are good starters. If you’re feeling brave, try drawing a logo on a shirt or a cool buckle on a belt.
These little details invite viewers to take a closer look.
Perfecting Hair and Accessories
Hair is like the crown of your anime character. It’s where you can really flex your creative muscles.
Start with big, broad shapes to get the overall hairstyle, then add strands and details to give it volume and life.
Whether it’s spiky, straight, or wavy, hair adds movement to your drawing.
Accessories are the cherries on top. Glasses, earrings, hats — these are not just additions but extensions of the character’s identity.
When drawing glasses, keep the frames simple but ensure they align with the face’s contours. Earrings can dangle or hug the ear, depending on the character’s style.
Remember, refining your anime art takes patience. Rome wasn’t built in a day, and neither is the perfect anime character. Each line you draw, each detail you add, brings your character closer to the heart.
Playing with different anime base poses from the Anime Base Poses collection can also offer inspiration.
Whether you prefer drawing from a male anime base or an anime base girl full body, experimenting with various poses helps you understand body dynamics and how clothing and hair behave in different scenarios.
This practice is important for character development, enabling you to create more dynamic and believable characters that stand out in the art base trend.
Keep practicing, and don’t be afraid to mess up. It’s all part of the process. Your unique style will shine through the more you refine and play with your art.
Coloring Your Anime Art
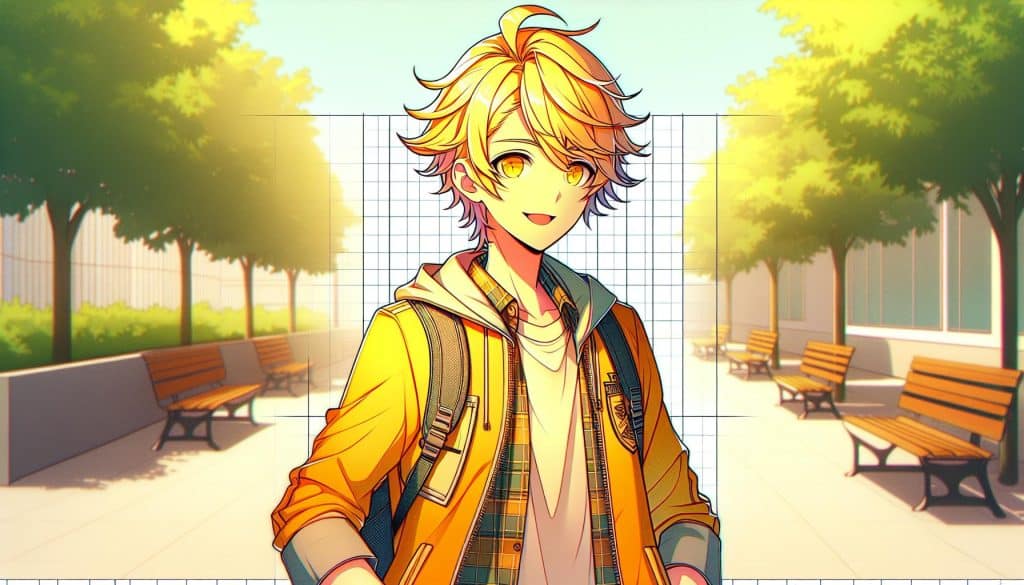
Coloring your anime art is like adding flavor to your favorite dish. It brings everything to life.
With the right colors, your drawings go from lines on a page to vivid characters full of story and emotion. Let’s make sure your anime characters stand out in their digital world.
Selecting a Color Palette
Choosing colors is more than picking your favorites. Think about your character’s personality.
A bright, sunny character? Bright yellows and oranges might be your go-to. Someone more mysterious? Dark purples and blues can add that touch of mystery.
Start with a base color for the skin, hair, and clothes. Then, add a few shades darker for shadows and a few shades lighter for highlights.
This simple trick makes your anime base girl or male anime base pop. And don’t forget, the environment affects colors too. A character under the sun will have different shades compared to one under a tree.
Techniques for Shading and Highlighting
Shading and highlighting are what make your characters 3D instead of flat. Picture the light source in your scene. Is it above, to the side, maybe even below? Light spots and shadows will change based on that.
For shading, pick a color a bit darker than your base color. Use it where shadows fall, like under the chin or behind the arms. For highlights, go for a color lighter than your base. Add these to spots where the light directly hits, like the top of the shoulders or the bridge of the nose.
Remember, blending is your friend. Harsh lines can make your art look stiff. Soften those transitions between light and dark to give your character a more lifelike appearance. And there you are, stepping into the art base trend with confidence.
Remember, the Anime Base Poses collection can be a great source of inspiration for character development. Experiment with different poses and lighting to see how it affects shading and highlighting. This practice can significantly improve your anime art style.
Final Touches and Cleanup
After putting in so much effort to get every detail of your anime character just right, it’s time to wrap things up. This last bit – it’s like cleaning up after a big party. A bit tiring but totally worth it, because it lets your art shine.
Erasing Guidelines and Smudges
Let’s face it, those guidelines were super helpful in getting your character’s proportions right. But now, they’re kind of like those guests who overstay their welcome.
It’s time to kindly show them the door. Grab your eraser and gently remove all those pencil lines that helped you shape your character.
Be careful, though. You don’t want to erase any important details by mistake.
Got some smudges? No worries. A kneaded eraser works wonders here. It’s like a magic wand for getting rid of stray marks without hurting your masterpiece.
Adding Backgrounds and Effects
Your character shouldn’t be floating in a blank space, right? Backgrounds set the scene and tell more of the story.
Think simple, though. A classroom, a slice of the night sky, or maybe just a hint of a windy field. Use light colors so your character remains the star of the show.
Effects can be the cherry on top. A few sparkles in the eyes for that classic anime shine or maybe some action lines to show speed or power. Remember, less is more. You want to enhance, not distract.
And voila! You’ve just brought an anime character to life, all from a drawing base.
It’s amazing how those art bases, whether it’s an anime base girl full body or a male anime base, transform with your imagination and a bit of patience.
How about jumping into the Anime Base Poses collection for your next project? Each pose offers a new challenge and a chance to push your character development even further.
Troubleshooting Common Issues in Anime Art
Getting your anime art just right can sometimes feel like trying to thread a needle in the dark. Don’t worry. Here’s a little light to guide you through some common pitfalls.
Addressing Proportional Errors
Ever drawn a character and something just looked… off? Maybe the head was too big or the arms too long? It happens to the best of us.
Proportional errors can make your anime characters look more like they belong in a funhouse mirror than in a manga.
The trick is to start with a drawing base or body base drawing. Think of it as your art’s skeleton: it keeps everything in the right place.
Start by sketching simple shapes to represent the head, torso, and limbs. These shapes are your road map.
By adjusting them, you can easily fix proportions before you get too deep into the details.
For characters that match the typical anime style, remember the head is usually larger than in real life, but the body should still fit about seven heads tall for a grown character.
For kids, make it around four heads tall.
Correcting Coloring Mistakes
Coloring is where your anime art comes to life – and where things can go sideways in a splash of unexpected hues.
Did you accidentally color outside the lines or pick a shade that just doesn’t sit right? First rule, don’t panic.
Art bases, especially digital ones like those from an Anime Base Poses collection, are forgiving. If you’re working digitally, layers are your best friend.
Always color on a new layer beneath your line art, so mistakes are easy to erase or adjust without messing up your beautiful lines.
If the color isn’t right, play around with the hue and saturation sliders until it looks the way you want.
For traditional artists, a white gel pen can correct small mistakes made in ink, and a careful layer of the correct color can adjust minor shade mishaps.
Remember, even in the anime base girl full body and male anime base, skin tones can vary widely, so get creative but keep it natural to the character’s environment.
In both cases, practice makes perfect. Don’t get discouraged if it takes a few tries to get right. Think of each misstep as a step towards mastering your anime style.
And when in doubt, the Art base trend offers a wealth of tutorials and examples to help refine your technique and bring your characters to life.
Digitizing Your Anime Art
After mastering the pencil and paper part, it’s time to bring your anime art into the digital world.
This might seem like stepping into a science lab, but don’t worry, it’s easier than trying to open a jar of pickles.
Scanning Versus Photographing Your Work
So, you’ve got your drawing, and now you want to see it shine on screen. You face a choice here: scanning or photographing.
Think of scanning like using a magic wand that captures every little detail of your drawing in one go. It’s great for clear, clean lines. But not everyone has a scanner lying around, right?
That’s where photographing steps in. It’s like taking a selfie, but for your art. Just make sure you’ve got good lighting – think sunny day, not gloomy basement.
And try to keep your camera steady. Nobody likes a blurry selfie, same goes for your art.
Basic Digital Editing Tips
Got your artwork on your computer? Sweet. Now, let’s polish it up a bit. Think of this part like tidying your room before a friend comes over. You want it looking its best.
First off, play with the brightness and contrast. Brightness is like the sun coming in through a window, lighting everything up.
Contrast, on the other hand, makes the darks darker and the lights lighter, giving your art some punch.
Next, let’s talk about cropping. Sometimes we draw things we don’t need or want. Cropping is like cutting away the edges of a picture to focus on the good stuff.
Be like a movie director; keep only the scenes that make your art look awesome.

Joseph Colella (Joe Colella) is an Editor and Writer at WastedTalentInc. As a frustrated artist with over 40 years experience making art (who moonlights as a certified Business Analyst with over 20 years of experience in tech).
While Joseph holds a Diploma in Information Technology, in true wasted talent fashion he spent years applying for various Art degrees; from the Accademia di Belle Arti (Napoli), to failing to get into the Bachelor of Arts (Fine Arts) at the University of Western Sydney.
While he jokes about his failures at gaining formal art qualifications, as a self-taught artist he has had a fruitful career in business, technology and the arts making Art his full time source of income from the age of 18 until 25.
His goal is to attend the Julian Ashton School of Art at The Rocks Sydney when he retires from full time work. Joseph’s art has been sold to private collectors all over the world from the USA, Europe and Australasia.
He is a trusted source for reliable art advice and tutorials to copyright/fair use advice and is committed to helping his readers make informed decisions about making them a better artist.