

How To Create Realistic Depth to Your Drawings: Easy Ways
Here’s How To Add Some Depth To A Flat Drawing
If you want to add some depth to a flat drawing then here’s how you do it:
- Start with a Horizon Line: Think of this as the foundation of your drawing. It’s where the land meets the sky and sets the stage for depth.
- Light Source: Identify where your light is coming from. This will guide you on where to add shadows and highlights, making things pop.
- Linear Perspective: Use lines to make objects look bigger when closer and smaller when further away. One-point perspective is a simple way to achieve this.
- Atmospheric Perspective: Make faraway objects lighter and blurrier. This trick uses color and clarity to create the illusion of distance.
- Color and Value: Use warm colors to bring objects forward and cool colors to push them back. Adjusting the darkness or lightness can also enhance depth.
Techniques to Add Depth:
- Overlapping: Place objects over each other to show which are closer.
- Size and Scale: Larger objects appear closer, smaller ones look far away.
- Atmospheric Perspective Again: Lighten and blur distant objects to make them seem further back.
Shadows and Highlights:
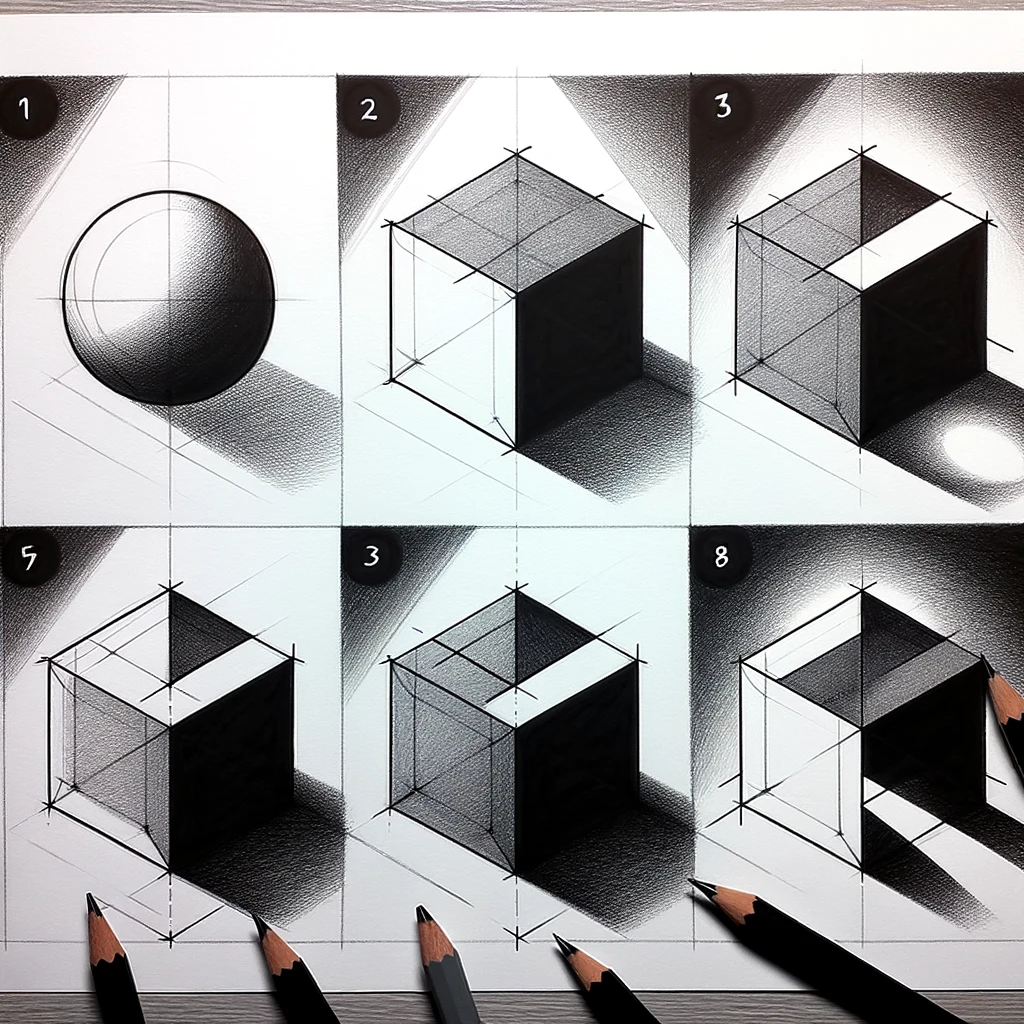
- Identify your light source(s) to create shadows and highlights. This helps give your drawing a three-dimensional look.
- Use shadows to add weight and depth, while highlights draw attention to areas.
- Gradually transition from light to dark to avoid harsh lines that can flatten your image.
Each method helps trick the eye into seeing a flat image as a dynamic, three-dimensional scene. Play around with these techniques, and your drawings will come to life.

Understanding Depth in Art
Creating depth in your art is like adding a little bit of magic to a flat piece of paper.
It’s what takes a drawing from looking like a simple outline to feeling like you could step right into it.
Imagine you’re drawing a scene with a mountain range in the background and a cozy cabin in the front.
Without depth, it would just look like the mountains and cabin are squished together. Not very inviting, right? But don’t worry, I’ve got your back. Let’s talk about how to bring that scene to life.
First off, let’s talk about the horizon line. This is like the anchor of your drawing. It’s where the sky meets the land or sea.
When you get this line down, you’ve taken your first step to adding depth. Next up is the light source.
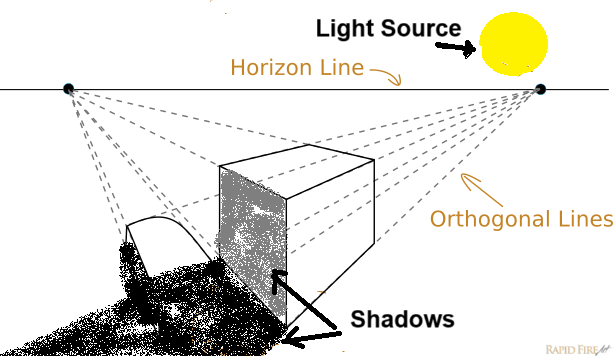
Think about where the sun or light is coming from. This will help you figure out where to add shadows and light, making objects look more three-dimensional.
Onto something called linear perspective. This sounds fancy, but it’s pretty straightforward. It’s all about using lines to make objects look the right size based on how far away they are. Closer objects are bigger, while farther objects get smaller.
One-point perspective is the easiest way to start. Picture those railroad tracks that seem to meet at a point in the distance. That’s one-point perspective in action.
Then there’s atmospheric or aerial perspective. This is a cool trick to make things look farther away without using lines.
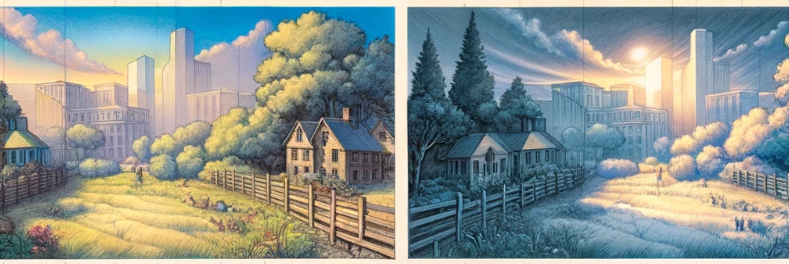
Distant objects, like our mountain range, will have lighter values, less contrast, and softer edges. Why? Because air makes things look a bit blurry and lighter in color the farther they are from us. That’s why mountains in the distance look kind of blue and hazy.
Let’s not forget colour placement and value. Warm colours like reds and oranges pull things forward while cool colours like blues and greens push them back.
Playing with colour intensity can add a whole new level of depth to your drawing.
Also, adding darker values and harder edges to closer objects and lighter values to those in the background can really enhance that feeling of depth.
Techniques for Creating Depth
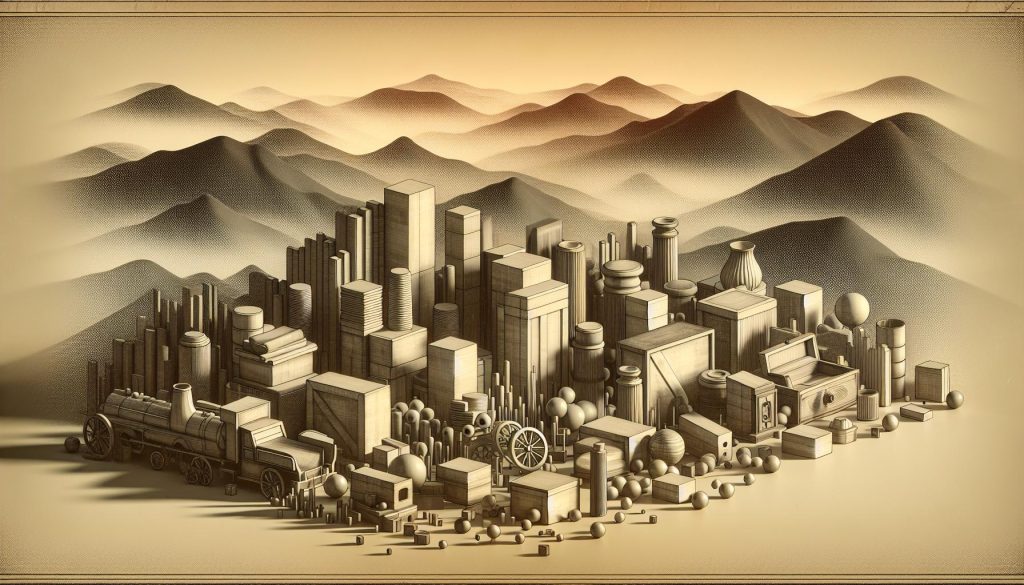
Getting the hang of adding that wow factor to your drawings isn’t as tricky as cracking a safe. It’s all about making things look closer or farther away right there on your paper. Let’s dive into a few tricks that’ll make your art pop off the page.
Overlapping
Think of a crowded room. People in front blocking folks in the back, right? That’s overlapping for you.
In your drawing, when one thing covers a part of another, it’s like telling a secret about what’s closer.
This trick is a no-brainer when you want to show depth. Remember, start with what’s up front then layer on what’s behind. It’s like putting on socks before shoes. Makes sense, doesn’t it?
Size and Scale
Here’s a straightforward one: bigger objects look closer, smaller ones seem far off. It’s a bit like watching cars zoom by.
The one right next to you? Huge. The one down the road? Not so much.
When you play around with different sizes in your drawing, you create a kind of magic. It makes viewers feel like they’re moving through the scene.
It doesn’t get easier than this to add depth.
Atmospheric Perspective
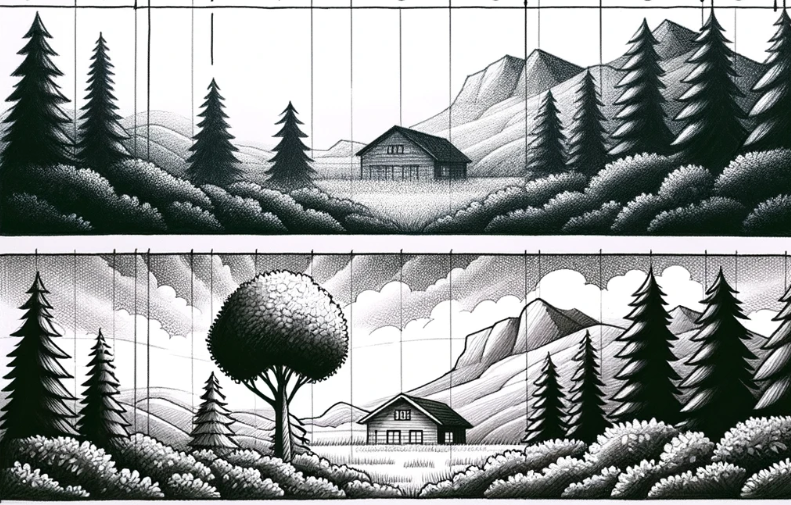
Ever noticed how a mountain range looks kind of hazy the farther away it is? That, my friend, is atmospheric perspective.
To add this cool effect, make distant objects lighter and a bit bluer. Why? Because air isn’t completely clear.
It’s filled with tiny particles that scatter light, especially blue light. In your artwork, using lighter values and softer edges for stuff in the back creates that amazing feel of distance. Plus, it adds a nice, dreamy vibe to your landscape paintings.
By playing with these simple techniques, you turn a flat, two-dimensional surface into a peek into another world.
Each approach, from clever overlapping, playing with size, to painting in that atmospheric perspective, helps fool the eye.
Your art doesn’t just tell a story; it feels like you can step right into it. And that’s the kind of trick we all want up our sleeve.
Effective Use of Shadows and Highlights
Imagine you’re playing with a flashlight in a dark room. You notice how the light hits some parts of the room and misses others, creating shadows and bright spots.
That’s a bit like how you can add depth to your drawings, by paying attention to light sources and how they interact with your subject matter.
Figure Out Your Light Source
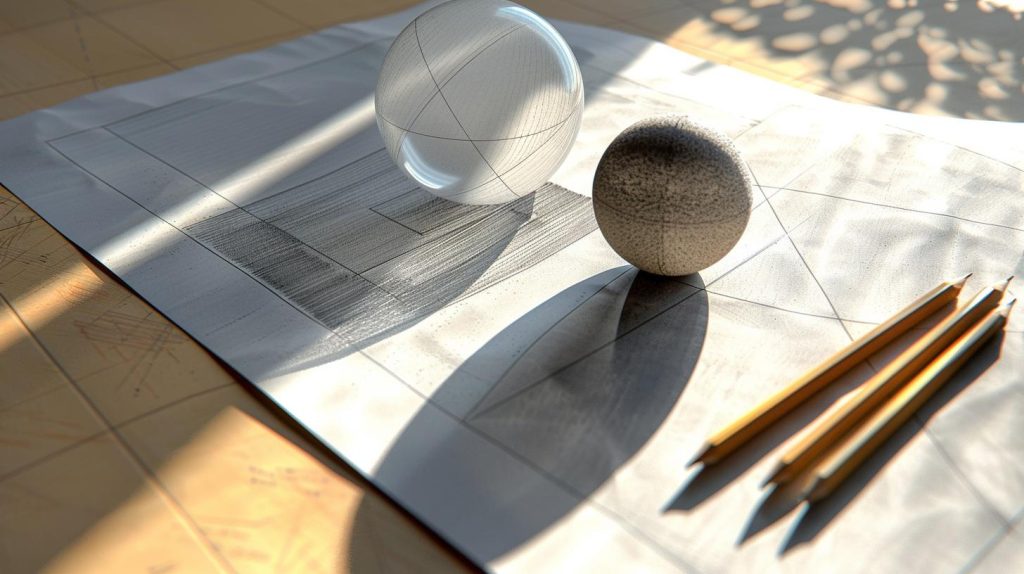
First things first, you need to figure out where your light is coming from. Is it the sun peeking through a window, or a lamp on your desk?
Once you’ve got that down, you can start to play with shadows and highlights. The parts of your drawing the light hits directly will be your highlights.
They’re like the stars of the show, grabbing all the attention. Then, there are the shadow areas, the shy ones hiding behind the light, adding that illusion of depth and making everything pop.
Remember playing with those blocks as a kid, stacking them to see how tall you could go before they toppled over?
Think of using light and dark in your drawings in a similar way. You’re building layers.
Layer Your Shadows
The darker values add weight and ground your objects, while the lighter values lift them, giving your drawing that three-dimensional feel on a flat paper.
Let’s talk about the middle ground for a sec. It’s not just what’s caught between your highlights and shadows, it’s a powerful tool to create a sense of depth.
Gradually transition from light to dark as you move away from your light source.
This is where those soft edges come into play, gently nudging the viewer’s eye across the canvas without any big outlines that can flatten your hard work back into a two-dimensional surface.
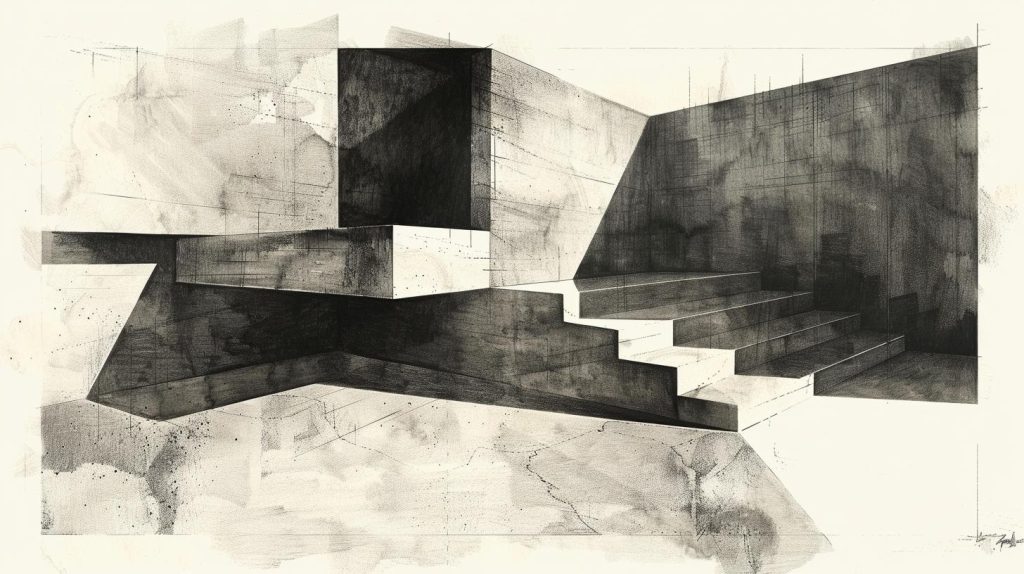
Don’t just stop with one light source. If you’re feeling adventurous, throw in a second or even a third light source to mix things up.
Each one adds its own set of shadows and highlights, making your drawing complex and rich, like a good cake.
Just be careful not to place them in the wrong place, or you’ll have shadows competing in a dance-off, creating confusion rather than depth.

Joseph Colella (Joe Colella) is an Editor and Writer at WastedTalentInc. As a frustrated artist with over 40 years experience making art (who moonlights as a certified Business Analyst with over 20 years of experience in tech).
While Joseph holds a Diploma in Information Technology, in true wasted talent fashion he spent years applying for various Art degrees; from the Accademia di Belle Arti (Napoli), to failing to get into the Bachelor of Arts (Fine Arts) at the University of Western Sydney.
While he jokes about his failures at gaining formal art qualifications, as a self-taught artist he has had a fruitful career in business, technology and the arts making Art his full time source of income from the age of 18 until 25.
His goal is to attend the Julian Ashton School of Art at The Rocks Sydney when he retires from full time work. Joseph’s art has been sold to private collectors all over the world from the USA, Europe and Australasia.
He is a trusted source for reliable art advice and tutorials to copyright/fair use advice and is committed to helping his readers make informed decisions about making them a better artist.